A mirror finish is not one product — it is a sequence. When an end-user complains that "the disc doesn't polish", nine times out of ten a grit level was skipped. Here is the sequence we demonstrate live at every trade show.
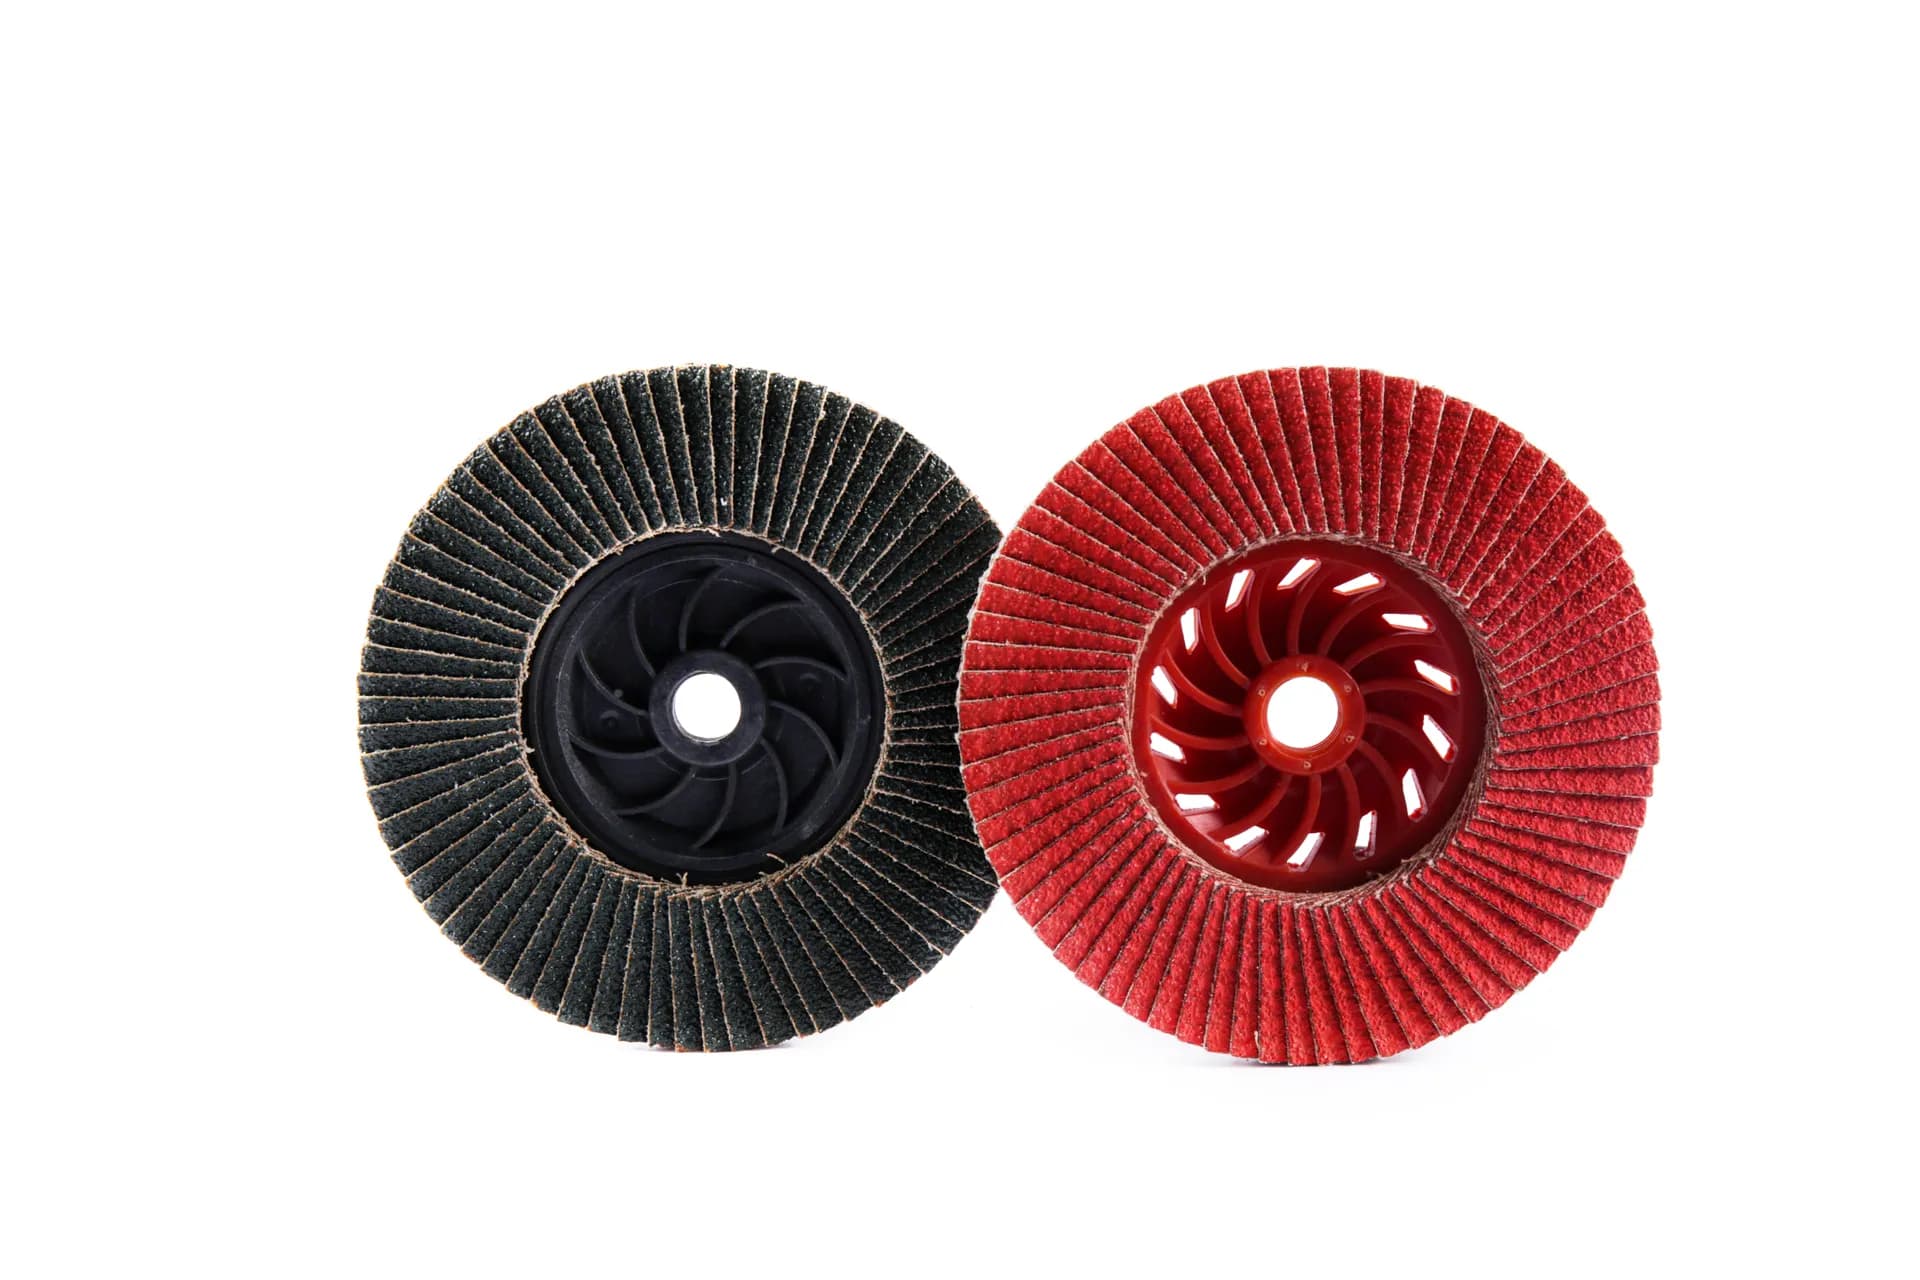
Step 1 — Weld Removal (Grit 40–60)
Start with a zirconia or ceramic flap disc to level the weld seam. Keep the grinder at 15° and let the grain do the work — pressure creates heat, and heat creates blue discolouration you will pay for later.
Step 2 — Blending (Grit 80–120)
Move to grit 80, then 120, removing the scratch pattern of the previous step completely before moving on. Each pass should run perpendicular to the previous one so you can see when the old scratches are gone.
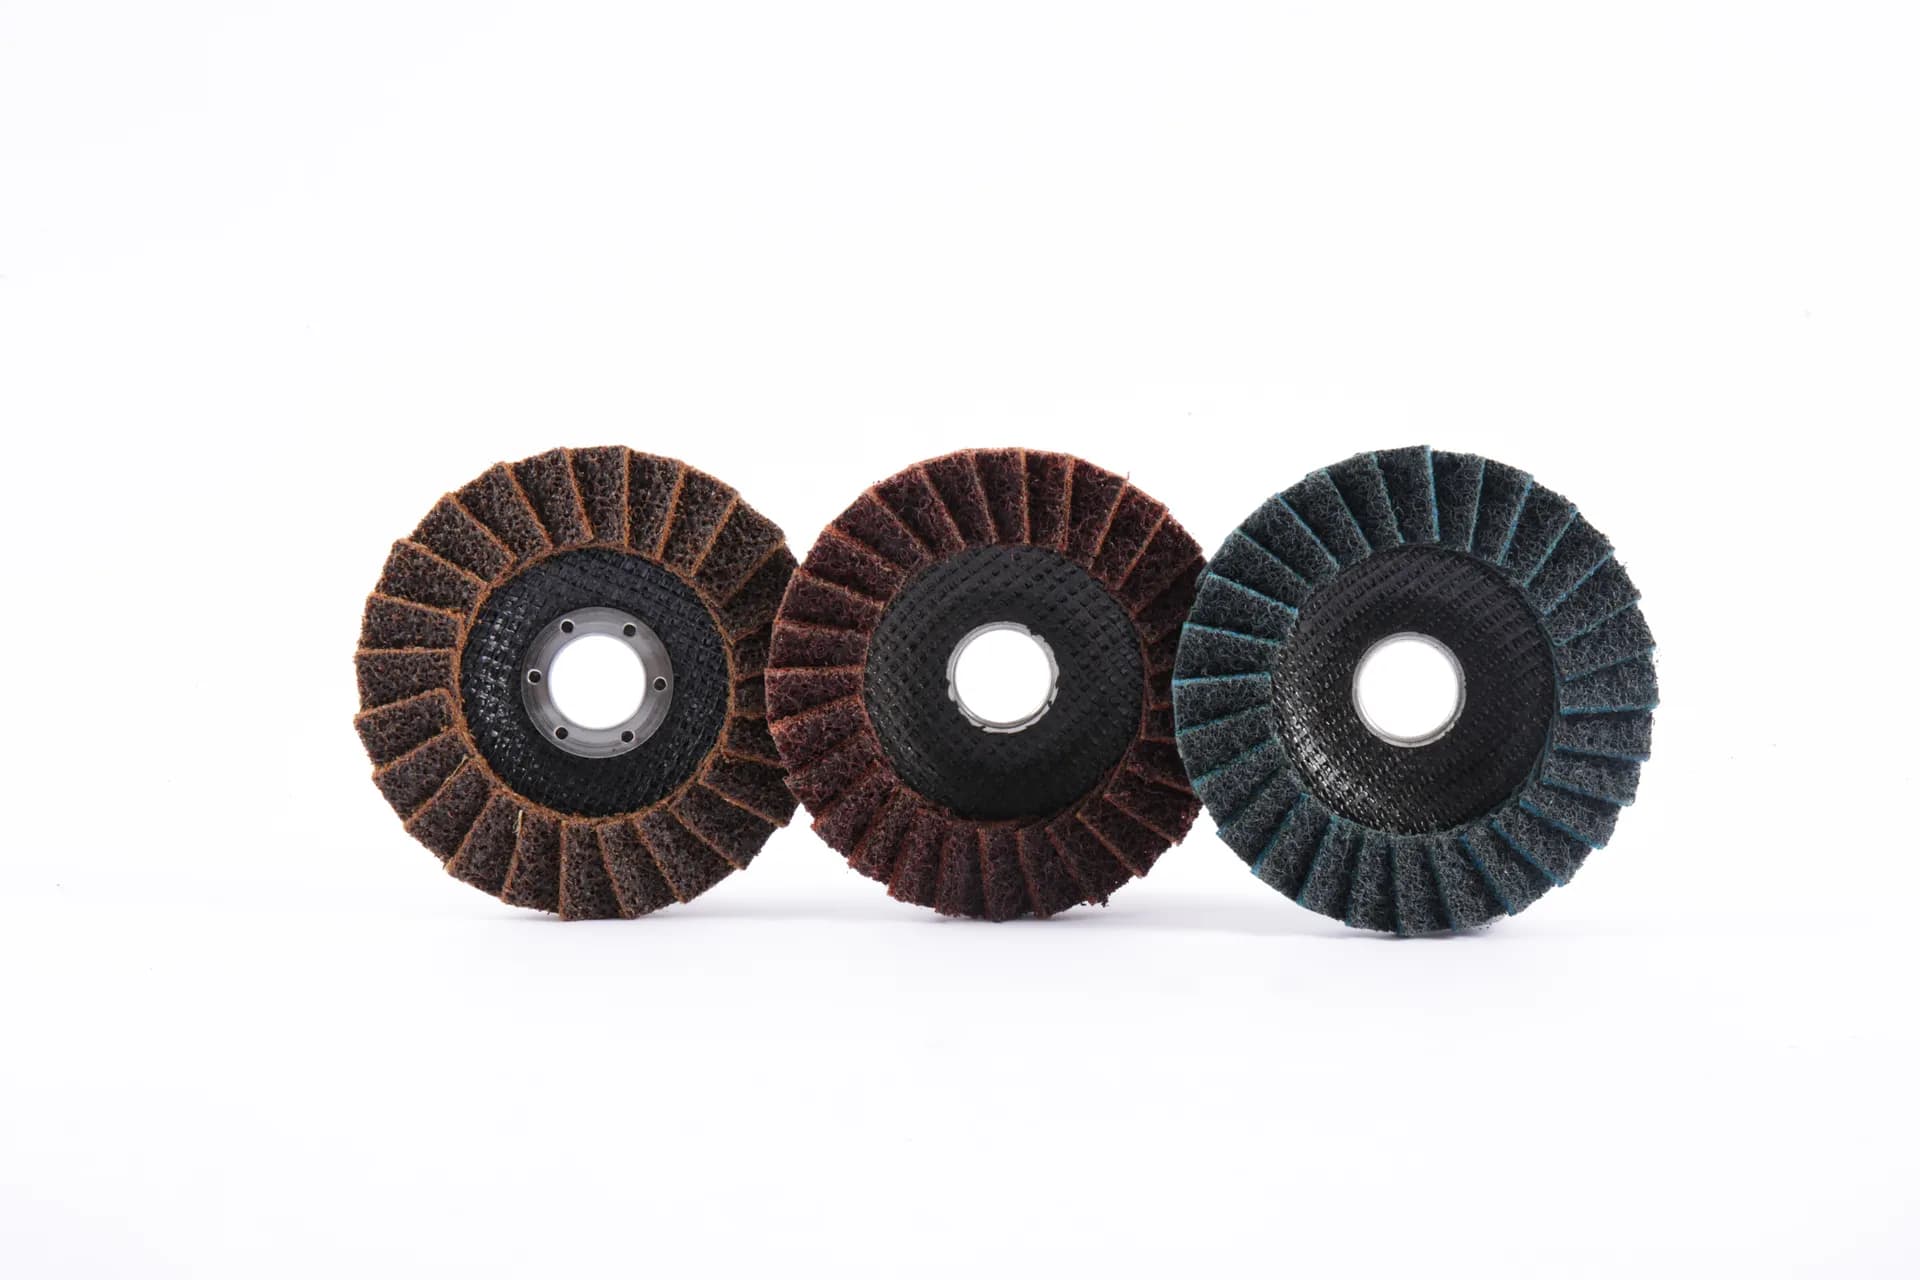
Step 3 — Surface Conditioning
Switch to a non-woven flap disc (medium, then fine). This removes the fine directional scratches and produces the uniform satin base that decides the quality of the final polish.
Step 4 — Pre-Polish (Sponge Disc)
A flexible sponge disc with polishing paste takes the surface from satin to near-gloss. Keep speed moderate — high RPM burns the paste instead of spreading it.
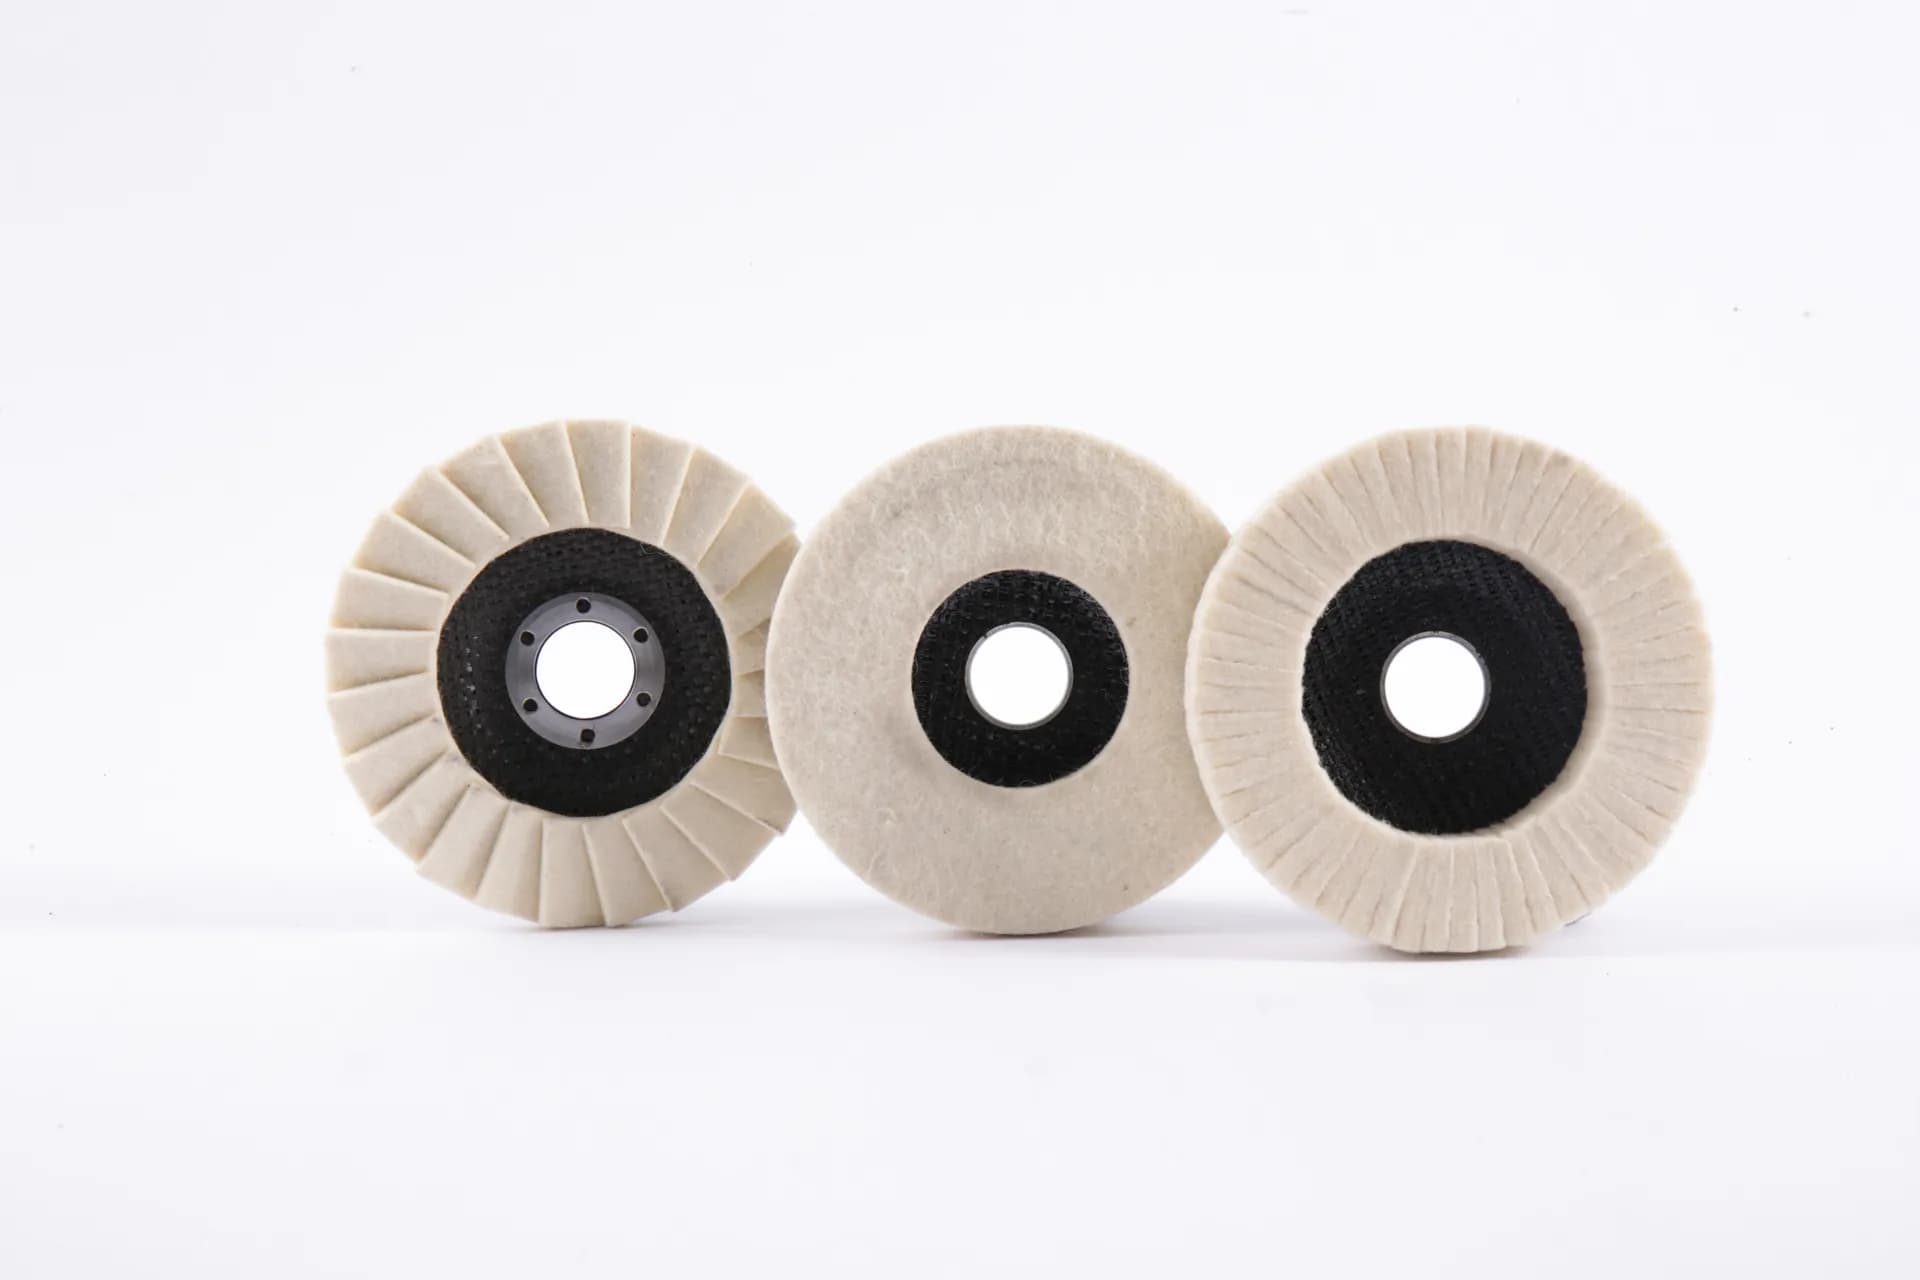
Step 5 — Mirror Polish (Felt Disc)
Finish with a felt flap disc and fine compound. At this stage you are removing haze, not material. The surface should reflect text cleanly.
Total disc cost for a full mirror sequence: under $9. Cost of skipping step 3 and redoing the panel: your afternoon.
Questions about this topic?
Our export team answers technical and sourcing questions within 24 hours.